This is one of my favorite things to do for clients. Here’s an example of why:
A website’s Contact page will typically list email address, phone number, and maybe a physical/mailing address, right? Because I want potential customers to get in touch, I also carefully place these details in multiple places such as footers, headers, “Call To Action” boxes on blog posts, Terms & Conditions pages, Privacy pages… you get the idea.
An Options Page lets me update a couple of boxes on ONE page, and then every place where I’ve carefully placed that data (using this method) will automatically update. I don’t have to search & open & edit & save & double-check dozens (sometimes hundreds) of blog posts. Talk about a time-saver!
This tip isn’t specific to GeneratePress, but I’m going to cover how I pair this with GeneratePress Premium Elements to make clients’ lives easier while simultaneously avoiding panicked phone calls of, “whoops, I tried to update XYZ and think I broke something!”
Required:
- Advanced Custom Fields (ACF) Pro plugin
- Code Snippets plugin
Steps:
- Add a new snippet (using Code Snippets) and set it to run in the administration area. This creates a blank Options Page, and bold below indicates where you might customize the code for your purposes. Note that ‘cindys_acf_op_init’ appears in the two first lines; these two instances must match.
add_action( 'acf/init', 'cindys_acf_op_init' );

function cindys_acf_op_init() {

  // Verify that ACF Pro is installed
  if( function_exists( 'acf_add_options_page' ) ) {

    // Register options page
    $option_page = acf_add_options_page( array(
      'page_title'  =>  __( 'Site Settings' ),
      'menu_title'  => __( 'Site Settings' ),
      'menu_slug'   => 'cindys-site-settings',
      'capability'  => 'edit_theme_options',
      'redirect'    => false
    ));

  }
}
When you save and activate the snippet, you will immediately see a new menu item in your WP dashboard, titled whatever you used for ‘menu_title’.
- Decide on a unique name for each piece of “global info” needed. We’ll need them for the next step. For this example, I have chosen these three unique names:
- email address = “company_contact_email_address”
- phone number = “company_contact_phone_number”
- mailing address = “company_contact_mailing_address”
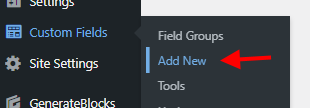
- Create a new field group.
Give it a name (I used “Site Options: Contact Info” here), and in the Location box, set it to show this field group if Options Page – is equal to – Site Settings. (If you chose another menu_title name in the code block above, choose that here instead of ‘Site Settings’.)
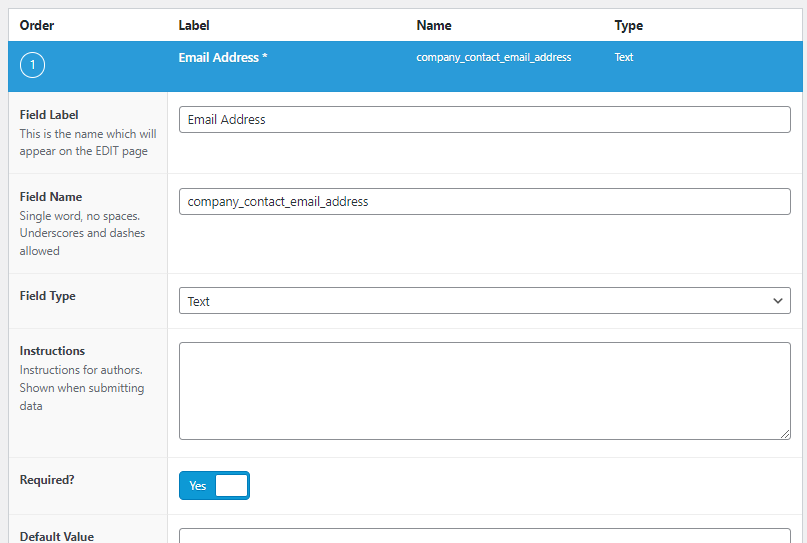
- Click Add Field to begin adding our three pieces of “global info”. For the first:
- Field Label: Email Address
- Field Name: company_contact_email_address
- Field Type: Text

For the next two fields, I’ve entered:
- Field Label: Phone Number to Display
- Field Name: company_contact_phone_number
- Field Type: Text
- Instructions: Example: 555-123-4567
Couple of notes –
“edit_theme_options” in the code block limits which users can view the new “Site Settings” WP dashboard menu. Only user accounts with the “edit_theme_options” rights (Administrators, by default) can view it. Click here for a full list of WP roles and capabilities is here.


